Sep 28, 2011

Fabric Jewelry Bags


The other day I was invited to go to a birthday lunch for a new friend. Ya wanna know a secret? I am horrible at remembering to do things for my friend's birthdays. Take this little lunch get together for example. I knew for days about it. I had plenty of time to go get a card, something, anything. HOWEVER, my brain just shut down and it wasn't until a few hours before said lunch that I realized I probably should do something.

Luckily I had a sudden bright idea. I had the supplies to make her handmade earrings. Then as luck would have it, my brain kept working and I decided to whip out a teeny tiny fabric jewelry bag to hold the handmade earrings.

I whipped out this darling bag in under 20 minutes.


Add some earrings...or maybe a necklace...or bracelet...or all of the above and you have an instant charming and easy gift for your friend, sister, sister-in-law, teacher, mother, daughter. The list goes on and on.


Easy Peasy.

So easy in fact...I made a couple more bags. Now I am all ready for any upcoming events, right?


Fingers crossed anyway!

Sep 27, 2011

Food Contributor: Num Num Mix


Today is the 4th Tuesday of the month. That must mean that I am over at Somewhat Simple for another sweet recipe. Today I am actually over there with at for real SUH-WEET recipe.

No really, if you are hankering for a delightful, sugary, buttery addicting snack that is also easy to make...then head over to Somewhat Simple and get this recipe.


Oh and guess what guys? I have actually taken out my sewing machine. Nothing fancy, but I might share it with you tomorrow.

Thanks guys.
You're the best!
No, really!
You are!

Sep 24, 2011

Idiosyncrasies

I know they say everyone has something quirky about them. Sometimes they are obvious, out in the open, wear-em-proudly quirks. Sometimes they are things we do all the time and don't necessarily notice. Sometimes those weird behaviors are only known by those close to us (whom we can blackmail with their own crazies).

Have you reflected on your idiosyncrasies lately? You might want to...it will probably give you a good chuckle.

The other day when I was making my boys lunch I grabbed out some plates and bowls. That day for some reason I took notice of the part of me that practically twitched at having to specifically grab out and then coordinate it place setting. 

Lunch looked a little bit like this...


I mean really do I always do this? Uh, upon reflection...uh yeah, I always try to do it. It is a perfect meal if I can can get the silverware, bowl, plate, and glass to all match. Hahaha. I mean I can honestly say when they don't all coordinate a vein in my head pulses.

Do you want to know a secret?

That day, I didn't have matching glasses, so I gave my kids something to drink after the meal, as to not ruin the perfect coordination. Hahaha. Okay so it is not normally that bad...that must have just been a special day.

So that is one of my idiosyncrasies....what do you have to bring to the table???

Sep 22, 2011

Fiesta Shells and Cheese and THANKS

First, let me just say THANK YOU.
Thank you for all of your well wishes, your thoughts of happiness, your empathy of my sickness,
your excitement, and your general kindness.

This baby was a surprise, but we are excited to start this journey again.
Thanks for letting me share it with you.


Today I am sharing a family friendly twist on macaroni and cheese. 


Fiesta Shells and Cheese.

Way back in our newlywed and early parenthood days, we had a cheeseburger pasta dish that we made all the time. Hubby LOVED it. I only had slightly fond feelings towards the dish. Basically it was similar to a homemade hamburger helper (eck, pleh, barf). The recipe called for two kinds of canned soup. Again, easy recipe, not terribly bad, but not my idea of a great dinner...sorry Hubby.

Several weeks ago I ran across a different recipe for cheeseburger macaroni. I looked over it and noticed that it seemed like a grown up, yet kid-friendly version of our newlywed recipe.

The name of her recipe was a little deceiving. There were several Mexican ingredients called for. So once we made it I decided that it was more like a taco...aka fiesta in macaroni and cheese form. The only changes I made were obviously I used shells....they hold all the cheesy taco-ey goodness just wonderfully. I also added a side of sour cream to cut the spiciness of the dish for my little ones. If you would like to cut some of the spiciness you could always use plain diced tomatoes instead of Rotel.


We like taco themed meals in this house. This dish paired with some fresh pineapple was a great family meal.

Fiesta Shells and Cheese  
Kevin and Amanda  


Ingredients:

1 lb lean hamburger meat
1 pkg taco seasoning
1 can Rotel tomatoes and green chilies (or petite diced tomatoes)
2 cups beef broth 
1 cup shell pasta

Cheese Sauce:
2 Tablespoons butter
2 tbsp flour
3/4 cup milk
1 cup shredded cheddar cheese
1/2 tsp salt
1/2 tsp pepper

Brown and drain hamburger meat. Stir in taco seasoning, Rotel, beef broth, and macaroni. Heat to boiling. Reduce heat and cover pan. Simmer 12-14 mins until macaroni is tender.

While this is simmering, start making your from-scratch-cheese-sauce.


Melt the butter in a saucepan on med heat. Whisk in the flour and cook, whisking for 5 minutes until fragrant and light brown in color. Whisk in the milk and bring to a boil. Whisk until smooth and thickened. Remove from heat and stir in the shredded cheddar cheese until melted. Add the salt and pepper to the cheese sauce. 


Pour the cheese sauce over the hamburger mixture. Stir gently to combine.


Add a side of sour cream. Cut up some pineapple. Make it a meal.

Sep 19, 2011

My Current Project


This should explain my lack of blogging. My lack of creating. My lack of updates. My lack of finishing stuff around the house. My lack of getting dressed...oh wait you can't see that can you?

So my new current project (Bean, we shall call it for now) was not on our original list of to-do's. Bean was put on the list quite without planning and to the utter shock and surprise of us the list makers.

For those of you putting 2 and 2 together...Surprise Bean plus 30 days in a hotel equals a pretty miserable Momma. We found out about Bean about a week into our hotel stay. Smells have not been my friend at all this pregnancy...it has been a completely new experience for me. So a month in a hotel, a clean one at that, was too much to handle. There are a lot of smells that get trapped in a hotel room. Ugh, dry heave just conjuring up the memory...

...breathe....

Ok, I am back. Needless to say I still get a little queasy just when I drive by that hotel.

I have been the sickest I have ever been. Almost constant sour stomach and nausea. Nausea leads to migraines and migraine leads to more nausea...you get the gist.

So friends, baking our New Bean in my oven is taking almost everything I have. It is hard work growing a human. The drill is something very familiar to a lot of you. Exhaustion and sickness. So I know you understand with my lack of doing stuff. Typing this as we speak has made me drowsy enough to take a 2 hour nap...hahaha...yawn...haha....snore...

ehem...I am up.

Bean is going to be taking up most of my time for a little while. Which is fine, because that is how it should be, right????

After the shock, Hubby and I have adjusted to the idea. We are ready to welcome another little one into our home and family. We told our Little Men last night.

Littlest didn't really comprehend, but when I asked him if he would be okay with a new baby he nodded his head. Middle and Oldest were beyond excited. Oldest declared, "Now we will have a sister". We both quickly had to remind him the baby could very well be another brother. They were both okay with that too.

You might be wondering the completion day of our Bean project. The estimation is March 28. Just days before Littlest turns 3....HAPPY BIRTHDAY.

Yep, I am about 13 weeks. Only 27 more to go!

Sep 15, 2011

Raspberry Lemonade Bars


Nothing better than raspberries. Nothing better than lemon bars. So what happens when those two dynamos get together, have a couple of dates, pop the question, get married, and have a baby???

Well just about the most perfect confection evah.

This recipe came from my pinterest recipe box. Right when I came across this recipe I knew I had to give it a try. I definitely love the mixture between sweet and sour. These bars are firmer (not cakey mind you) than a normal lemon bar. The cookie crust is divine...as it should be with over 2 sticks of butter in it. The fresh raspberries give these bars that lovely color, not to mention a delicious flavor.

These definitely get my stamp of approval. Hubby enjoyed them too. The Little Men thought they were a little too sour, but hey I am not complaining 'cause that left more for me.

If you love lemon bars, I would highly suggest you give this recipe a whirl.


Raspberry Lemonade Bars 
from Annie's Eats

Crust:
2 1/4 sticks of unsalted butter, room temp (yes that is a lot of butter, you can work out later)
1/2 cup sugar
2 cups flour
1/2 tsp salt

Raspberry Lemon Layer:
3 cups sugar
1 1/3 cups flour
3 Tablespoons lemon zest
1/4 tsp salt
3 cups frozen raspberries, thawed
6 large egg whites
2 large eggs
1 1/3 cups freshly squeezed lemon juice (this will take anywhere from 7-9 lemons)

confectioners sugar for dusting

Squeeze your lemons. I made the mistake of not doing this first and it took me forever to make the layer mixture. SO just do yourself a favor and squeeze your lemon juice first.


Preheat oven to 350. You can either line a 9x13 pan with parchment (the bars will remove more gloriously from the pan this way) OR you can lightly grease the bottom of the pan. In the bowl of a mixer, combine butter and sugar. Beat on med high until smooth, a couple minutes. With the mixer on low, mix in the flour ans salt until just mixed. Add the dough to the baking pan. Press evenly into the bottom of the pan. Bake for 25 minutes or until light golden brown. Remove from oven. Do not let the crust cool too much.

While the crust is baking make the top layer. Combine sugar, flour, lemon zest and salt in a large bowl and whisk to blend. Add the raspberries to a fine mesh sieve and press through a cup at a time. Mash with a spatula to ensure that you are getting as much juice and pulp out as you can. Add the egg whites and eggs to the bowl with the dry ingredients and whisk to blend. Whisk in raspberry puree and lemon juice until mixture is smooth.

Pour mixture over the crust and bake until the center is just set and no longer jiggles when gently shaken. Depending on your oven it could take anywhere from 35-45 minutes. My bars were done on the higher time end.

Transfer to a wire rack. Let them cool to room temperature. Then cover and chill in the refrigerator for at least two hours. When ready to serve, use the parchment paper to lift out the bars and then cut in equal portions. OR you can cut and remove straight from the pan if you did not use parchment paper.

Dust with confectioners' sugar.

Eat. Eat. Eat. Lick your lips. Eat some more.


Enjoy!

Sep 12, 2011

Beans, Beans, the Magical Fruit...


...the more you eat, the more you...

Forgive me my 10-year-old boy humor. I come by it honestly...just ask my dad who taught me all these phrases to begin with...

Anyway, back to the beans.

Last week I had one of my new neighbors ask me if I canned. My response was, "I have done water bath canning once with help". She proceeded to ask me if I would like to give it another go and can some green beans. Fear gripped my heart and shouted "NO!" But my practical and adventurous side got the words out of my mouth first with a falsely confident "Sure, why not".

The next day she brought me over two big of garden fresh green beans...


Glorious. Then she brought in her pressure cooker. AHHHHHH!!! I don't know how to use this thing. Don't these things blow up on people? What if I do it wrong and I give my family botchulism? Can you tell I am a little high strung???

Well after she gave me a quick run through, I was on my own armed only with my false confidence, a minor level of intelligence, her verbal instructions, and her cell phone number.

Middle and I snapped and cleaned all the beans. I assembled the beans in the jars as instructed. Then I turned to the pressure cooker, looked it straight in the proverbial eye and said, "I am not afraid of you."

Which of course was false.

I knew it. The beans knew it. The pressure cooker knew it.

Would you believe that thing called my bluff? No? Would you believe that I chickened out and desperately started calling all my new neighbors (the one who gave me the beans was traveling out of town that day) trying to get someone to help me not blow up my house? Why, yes you would believe that wouldn't you.

Thank heavens one of my fabulous new neighbors came and gave me another quick refresher on getting the beans in the pressure cooker. I am happy to say that I took her instruction, then she left and I still did it all myself.

Yep, after a long day and a battle with my confidence and the pressure cooker, I turned these...


Into 18 pints of these...


Pretty, right? Are you proud of me for not giving up?


With one round of pressure cooking canning under my belt, I think there may be more in my future. All these green beans are lonely in our food storage, they told me. They have requested some apple pie filling. I can't tell them no now can I.


Now that the canning bug may be in my future, I would love to know what I should can. Do you can? What is your favorite thing to can?

Sep 9, 2011

Teaching Your Child to Ride a Bike-for Dummies


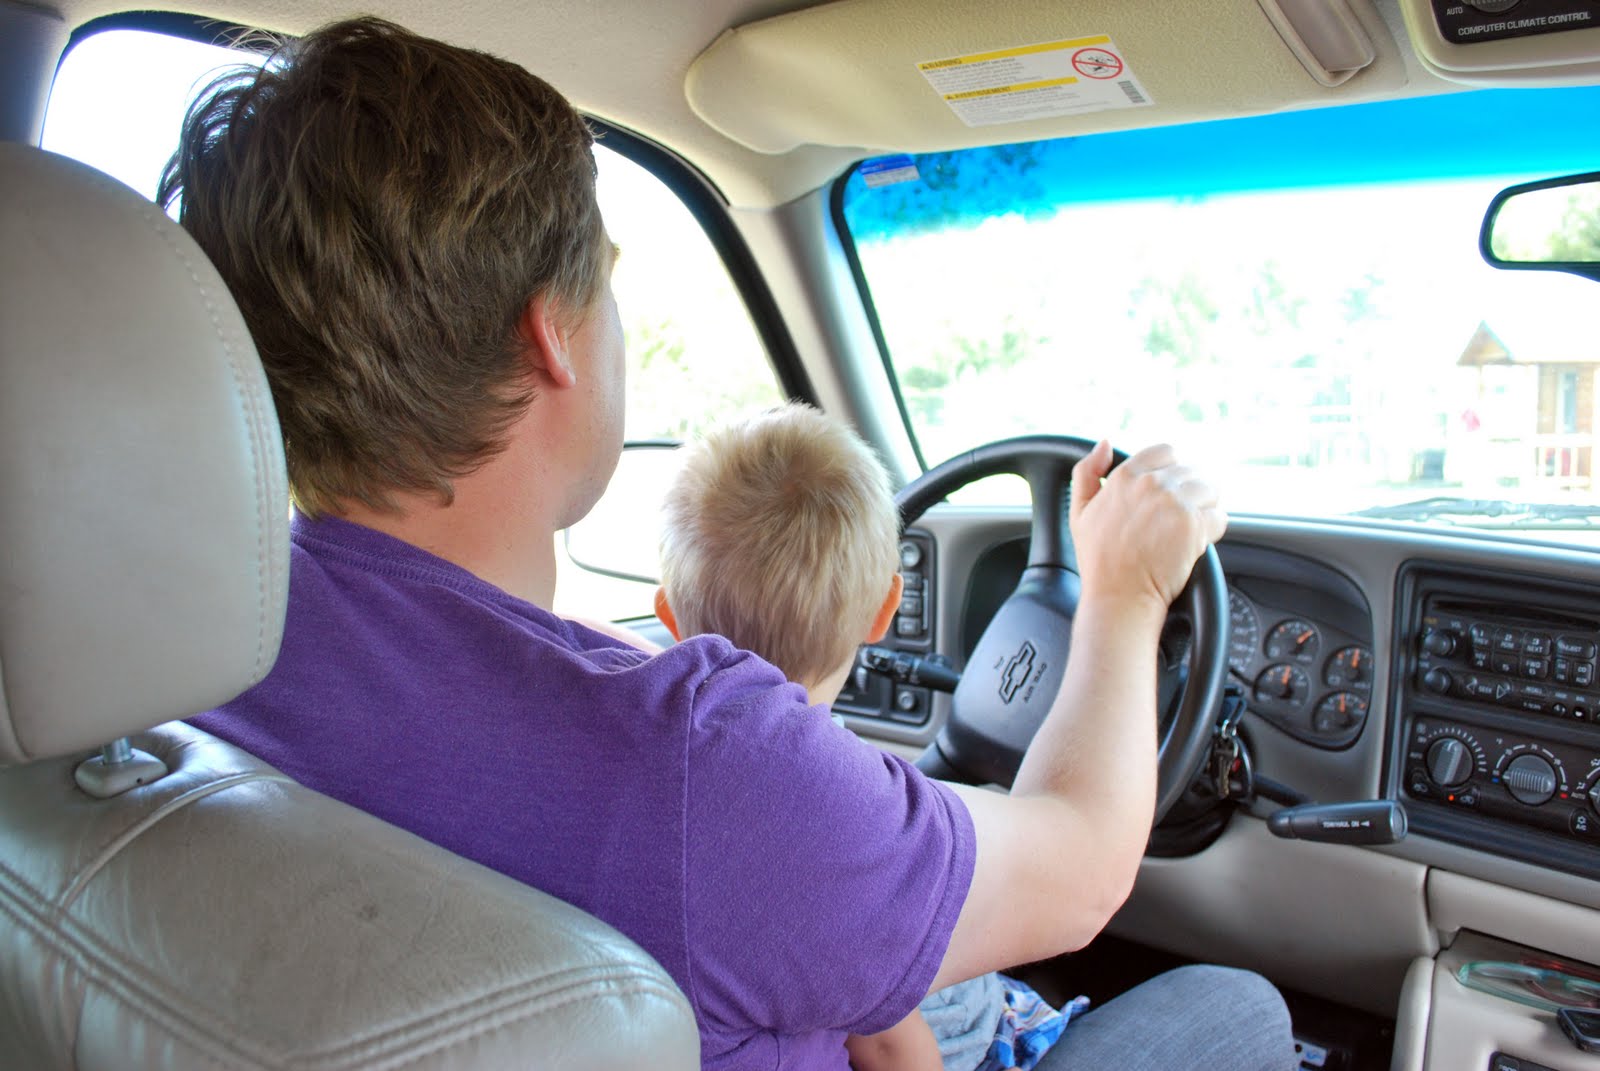
There a couple of parts of parenthood that I was not looking forward to. No not poopy diapers, late nights, the first "I hate you Mommy", homework, or even trips to the grocery store.

Nope.

The parts I was terrified of...well they are the parts that would most likely prove I have absolutely NO clue what I am doing. They would prove I have just been flying by the seat of my pants.

Three of those things I can think of right off the bat are-
potty-training
pulling a loose tooth
and...
teaching a child to ride a bike

Potty training has come and gone twice...they aren't permanently damaged and now I feel better...just slightly...about the process.

I have had to pull three loose teeth...still hate it and cringe inside every time, but I get 'er done.

Teaching a child to ride a bike...that one was turning out to be an utter failure and a completely frustrating experience. We just couldn't seem to get the concepts taught. We tried pushing him down a hill (not a really hard push...). We tried holding on to the back of his seat and letting go (horrible experience...does this really work?). We tried encouraging..."you are a smart kid, you can do it". We tried tough love "get up of the driveway, shake it off". I am ashamed to admit we even used the "you don't want to be the only kid who can't ride their bike" ...insert head hanging in shame now...

Nothing worked. Especially with my child who has a little anxiety (sorry son, you get that from me).

Nothing worked until we got some advice from my SIL's parents (they live here). Their advice was something I had never heard of. It was worth a try...

Well guess who is riding a bike now?!?!


I tell you what...just after finally getting in this house this is the next most exciting thing in our lives right now. After almost a year of trying off and on to help Oldest ride his bike, he is now a full-fledged bike riding machine.

AND Middle is just behind him. 

Now we have two little bike riders in our household.

SO now that I have shared my woes and joys, I want to share with you our new teaching a child to ride a bike method. 

The big secret...take the pedals OFF the bike. Yup. Take those suckers off. Take them off and lower the seat down as low as it will go.

Then you let your learner first just scoot around on his bike. Seriously, just let them scoot and glide.


'Cause you know what? The hardest part of learning and teaching to ride a bike is balance. This method totally accomplishes that.

For day or two let your little one roll around on their bike. We started our boys on a slight hill (our driveway) and let them glide down it. Once they started getting the hang of it, we challenged them to see how far they could glide with out their feet touching.

Once they could do that comfortably (for Oldest a long afternoon for Middle it took a couple of days), put the pedals back on.

NO joke, in the very first try with the pedals Oldest was off and pedaling.

AH-mazing.

It took a little longer with Middle, BUT it still worked.

Now we have two very happy bike riders. Now we have another way to encourage them to be active. Now they have another way to play with the neighborhood kids.

Now they have a relieved and ecstatic mom and dad.

Now we just need to work on stopping, a little...just a little.

That's nothing though.


Nothing compared to the joy of learning how to ride a bike...and to being able to teach how to ride said bike.

Sep 8, 2011

Chocolate Chip Cookie Pie


I heart a good chocolate chip cookie...and man do I heart it when it comes in pie form.

I first stumbled upon this pie when Oldest was a baby. A friend gave me the recipe to make for an activity. I remember thinking the whole time it was baking, "Man, when is that done because if it tastes as good as it smells...well then I am going to eat the whole thing".

The thing I love about this pie is that it is not a dry cookie consistency. This pie is a delightful mixture between cookie and cookie dough (you all know how I feel about cookie dough). Oh the ooey-gooey-ness of it all. Top it with some milk chocolate chips and a scoop of vanilla ice cream and hold on to your seats.

This is an easy, delicious, crowd-pleasing pie...go ahead make yourself one.


Chocolate Chip Cookie Pie


2 eggs
1/2 cup sugar
1/2 cup brown sugar
1 cup butter, melted
1 teaspoon vanilla
1/4 teaspoon salt
1/2 cup flour
1 cup chocolate chips
2/3 cups chopped walnuts
1 frozen 9-inch pie shell


Take pie shell out of freezer. Preheat oven to 325. In a the bowl of your mixer beat eggs until foamy. Add sugars and mix well. Add butter and vanilla until well blended. Add remaining ingredients. Pour into pie shell. Bake for 1 hour. The pie should be golden brown and a toothpick should come out mostly clean.


Let it stand alone or match it with vanilla ice cream. Mmmmmmmm....so good.

Sep 7, 2011

The Inside...You Asked For It


Welcome to our home. We have really enjoyed this home so far...I am sure living in a hotel for over 30 days had nothing to do with it...wink, wink.

As I said yesterday, I decided to swallow my pride and give you a glimpse inside before we are done getting it ready. Since I am still a little paranoid, I am only showing you some of the first floor...AND I might be making commentary about what is changing...so hang in there...

Okay so this room is right as you come in. Notice, no pictures hanging up. For now they just sit out. Also the stenciling you might have seen on the arch will be going bye-bye.


Right as you come in is what we are making the formal dining room. AGAIN, nothing is hanging up. My poor mirror is so sadly sitting on the floor. We got a rug and I am hoping for curtains sometime.


Ahhhh, the kitchen. Gotta.to.LOVE. all that space. Does anyone notice the DOUBLE OVENS? Yippee-iy-oh-ky-ay. We are waiting on some bar stools for the counter and for an eat in area...will show that later.


I have never really shown our bedroom on the blog before because it is yawn-errific. It still lacks a little in decoration, but it is a great room. We love it. Fun fact: the first night we stayed in the room I laid in bed, turned off the light, and then saw something glowing on the ceiling above me...

The previous home owners had left them self a glow-in-the-dark reminder on the ceiling that said CELL PHONE...of course to remind herself to charge her cell phone. You can't see it during the day so no big deal for now...BUT I will have you know it has not helped me remember to charge my cell phone once.


Littlest's room is the most done boys' room. HOWEVER, it does need a paint job. I really want to paint it a softer chocolate brown with an antique white board and batten accent wall where the changing table is....we will see how long that takes me.


One of the best things about this house is all the STORAGE. Closets galore. I mean for reals people. The home owner did an AH-mazing job at putting shelves everywhere. We currently don't even have enough stuff to fill said shelves.


Glorious, right?

Okay my friends, that will have to tide you over. I am excited to share more with you as it comes. I am really excited for Oldest's new room, but were as it is currently HOT pink and will need short of a truck load of primer to fix...it might be awhile till I get that all done.

Off to get more done around the house.

Sep 6, 2011

Family Weekend


One of the great things about our new location is that we are closer to a majority of both of our families. We were so excited to have our first visitors this Labor Day weekend.

My brother and his family came and we had lots of fun. As you can tell by our photo shoot.


They were only here for a few days and one of the things on the must-do list was to visit Bear World. Bear world...well is a place to go and see Bears...as the name probably gives away.


This park was awesome. You pay to go through a drive through park with mostly Bears. Black and Grizzly. Not only was there this little drive through adventure, but there was also a petting zoo and a little amusement park. ALL which was free with the admission price. All of the kids LOVED it.

First we did the drive through part.

The windows were only down in the part before the bears. They were definitely UP the entire time we were in the bear part.


We were all just piled in my brother's car together. That was one of the more fun parts, that we were all together.


We saw lots and lots of bears. Sometimes they were right up close to the car.


After the bear part, we went and enjoyed the amusement park rides. The boys loved going from ride to ride. The favorites were definitely the cars and the roller coaster.


Our weekend was great. Hopefully this is just the first of many times we will get to hang out with nearby family and play with cousins.


Now for some blog housekeeping-

I know that I have been absence for a really long time. You all of been great and I really appreciate your kinds words during our moving fiasco adventure. Now that it is finally over and we are in our house, a lot of my time is being spent organizing everything. While pretty  much all the boxes are unpacked, walls are still missing pictures, rooms still need to be painted, and several rooms need to be still put together. Basically a lot of work to go.

I know several of you have said that you are excited to see pictures of our new house. I am excited to show you...but I am hating that I might have to show you works in progress. I go a little crazy when a room is not the completed vision I have in my head. I go crazier (what is that possible???) showing people an unfinished room. BUT after a new move and a month of eating out we are on a tight budget...PLUS I am exhausted. SO our house is not going to be how I want it for a little while. Oh well. Eye twitching now....

So today I am going to take a couple pictures of our house. I will show you all some of them tomorrow. Promise!

I have also missed creating and sewing and all that good stuff. Hopefully that will come about soon...but like I said earlier...tight budget...exhausted...so hang in there. We are entering my favorite time of year so I am sure creating will start popping up.

WHEW...sorry for the novel. Basically I could have said...blogging coming back with pictures of unfinished rooms and some eventual crafts/sewing/decorating projects...obviously I am not good at keeping it short and sweet!

LinkWithin

Related Posts Plugin for WordPress, Blogger...