

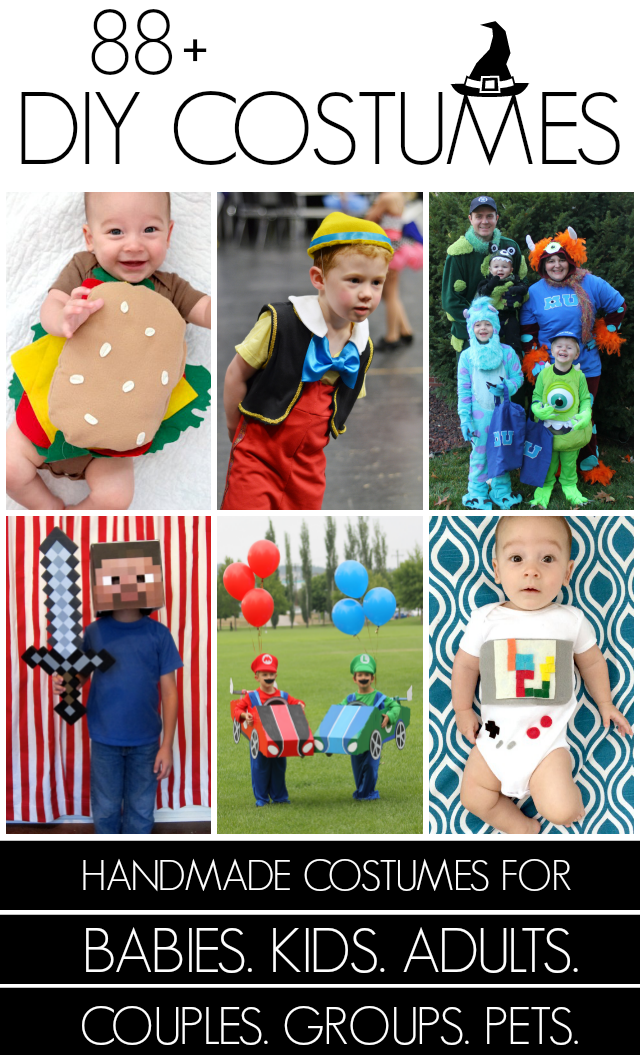
Me and 80+ blog buddies got together to bring you 80+ DIY Halloween costumes, including my Elephant and Piggie Costumes. I'm teaming up with Jamie Dorobek and her handmade Halloween costume site, Really Awesome Costumes to bring y'all tons of easy ideas to craft up DIY Halloween costumes for everyone including your pets, family costumes, and even a trunk or treat idea!
So let me say, I am crazy...
Let me finish. I am crazy about Halloween costumes. I also quite enjoy themed costumes for Halloween. This year we went with costumes that are based on book characters.
Our family LOVES the Elephant and Piggie books by Mo Willems. Have you read those books? Oh my word, they are amazing, hilarious, and all together quite fantastic. We have almost all of them, and we read them all the time. All. The. Time.
So it was a no brainer on our Halloween O' Book Characters to dress the youngest two as Gerald the Elephant and Piggie for this Halloween.

Another reason it seemed destined to dress them as Elephant and Piggie is because Gerald, the Elephant, wears glasses and Little wears glasses. It was meant to be.

For both of the costumes I started with Butterick Pattern 3238. I used micro fleece. I altered the tail, the ears, and omitted the elastic in both costumes. The tails and ears are both made to mimic the book characters themselves. I followed then construction instructions I just changed the shapes.
The were a few components not made from the pattern.
For Gerald, I added the toenails in a lighter fleece. I cut 3 half circles for each "leg". That was 12 total. Then I sewed them on to the edge of the sleeves and the end of the splats (shoe covers). I also made a simple trunk by sewing a tube, filling it with batting and then attaching it to a piece of fleece. Then I sewed elastic to the ends of the fleece..

For sweet little Piggie, I only added a cute but ridiculously large piggy snout. I sewed to black felt slits to the front of an oval piece of fleece. Then I attached a piece of elastic.

Did I mention anything about the cuteness?

Elephant and Piggie are a pretty good start to our Halloween O' Book Characters.

And now it's time for tons more DIY Halloween costume inspiration! Join in on the BLOG HOP! Click on the links below each collage to get the detailed instructions about how to make the costume pictured, just like mine above. Don't forget to follow the Handamde Halloween Costumes Pinterest Board for even more DIY costume greatness!
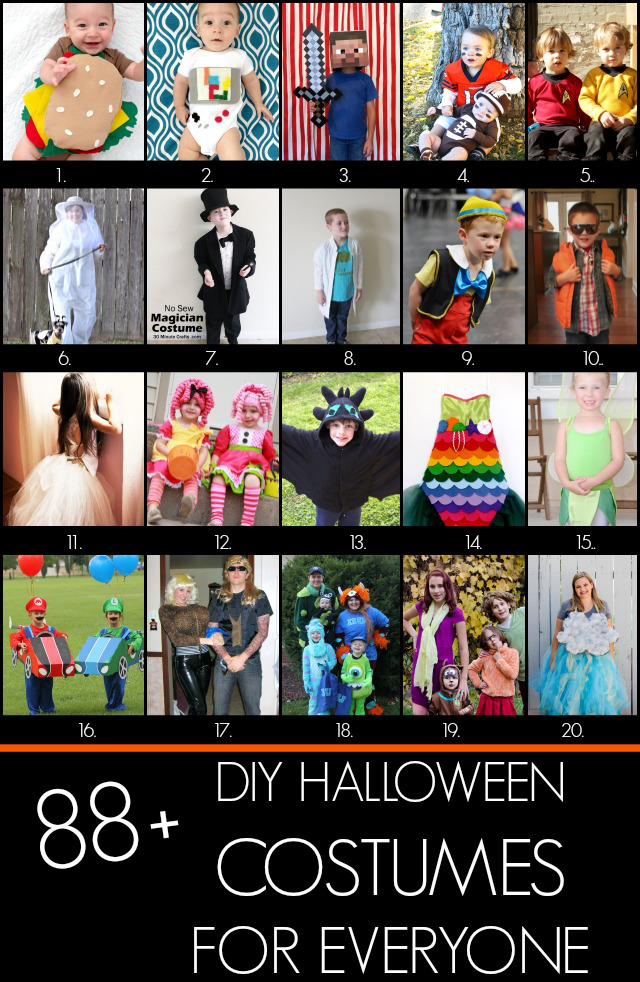 1. Handmade Baby Hamburger Costume
2. DIY Baby Game Boy Costume
3. DIY Minecraft Steve Costume
4. Football Brothers Halloween Costumes with DIY Pads and Onesie
5. Star Trek Halloween Costume for Kids
6. A Bee and Her Keeper
7. No Sew Magician Costume
8. Flint Lockwood Costume
9. Pinocchio
10. Marty McFly
11. Princess Wedding Dress Costume
12. Handmade Lalaloopsy Doll Costume
13. Homemade Toothless Costume
14. DIY Mermaid For Less Than $20 (No-Sew Option)
15. Easy Tinker Bell Costume
16. Mario and Luigi Go Kart Costumes
17. Dog The Bounty Hunter and Beth
18. Family Monsters University Costumes
19. Scooby Doo family costumes
20. DIY Storm Cloud Costume
1. Handmade Baby Hamburger Costume
2. DIY Baby Game Boy Costume
3. DIY Minecraft Steve Costume
4. Football Brothers Halloween Costumes with DIY Pads and Onesie
5. Star Trek Halloween Costume for Kids
6. A Bee and Her Keeper
7. No Sew Magician Costume
8. Flint Lockwood Costume
9. Pinocchio
10. Marty McFly
11. Princess Wedding Dress Costume
12. Handmade Lalaloopsy Doll Costume
13. Homemade Toothless Costume
14. DIY Mermaid For Less Than $20 (No-Sew Option)
15. Easy Tinker Bell Costume
16. Mario and Luigi Go Kart Costumes
17. Dog The Bounty Hunter and Beth
18. Family Monsters University Costumes
19. Scooby Doo family costumes
20. DIY Storm Cloud Costume
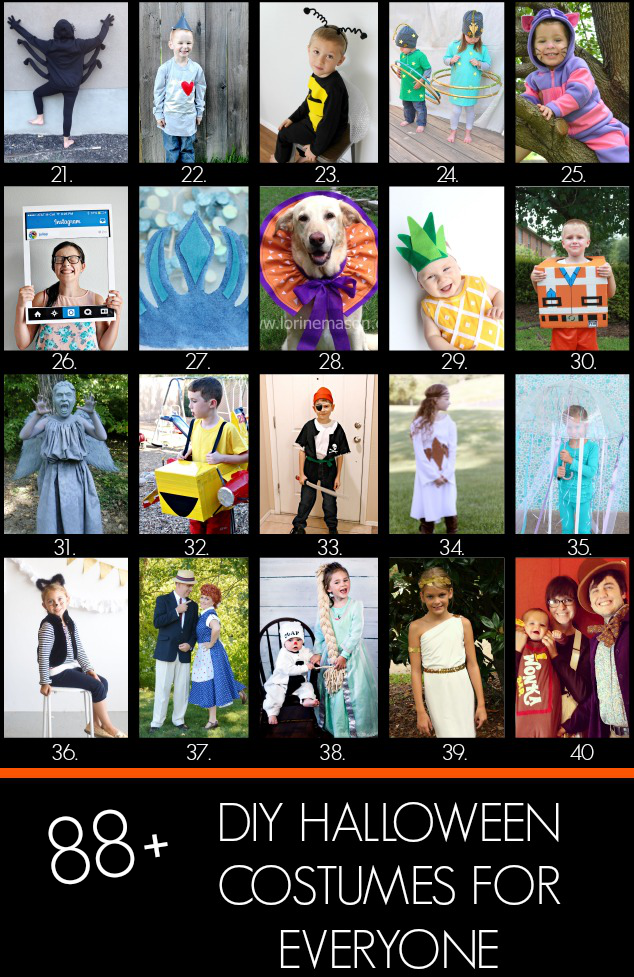 21. Cheap and Easy DIY Spider Costume
22. Easy Tin Man Costume
23. No Sew Bee Costume
24. Planet Halloween Costumes
25. DIY Cheshire Cat Costume
26. DIY Instagram Board
27. Elsa crown
28. Dog Collar Ruffles
29. DIY Pineapple Baby Costume
30. DIY Lego Movie Costume
31. Weeping Angel Costume
32. Disney Planes Costume: Dipper
33. Easy Pirate Costume
34. Easy Costume Idea - Renaissance Girl
35. 10 Minute Homemade Jellyfish Costume
36. DIY Cat Costume
37. Lucy And Ricky Costumes
38. Easy Frozen Costumes (Carrisa!!)
39. Easy Greek Goddess Costume
40. DIY Family Willy Wonka Costumes
21. Cheap and Easy DIY Spider Costume
22. Easy Tin Man Costume
23. No Sew Bee Costume
24. Planet Halloween Costumes
25. DIY Cheshire Cat Costume
26. DIY Instagram Board
27. Elsa crown
28. Dog Collar Ruffles
29. DIY Pineapple Baby Costume
30. DIY Lego Movie Costume
31. Weeping Angel Costume
32. Disney Planes Costume: Dipper
33. Easy Pirate Costume
34. Easy Costume Idea - Renaissance Girl
35. 10 Minute Homemade Jellyfish Costume
36. DIY Cat Costume
37. Lucy And Ricky Costumes
38. Easy Frozen Costumes (Carrisa!!)
39. Easy Greek Goddess Costume
40. DIY Family Willy Wonka Costumes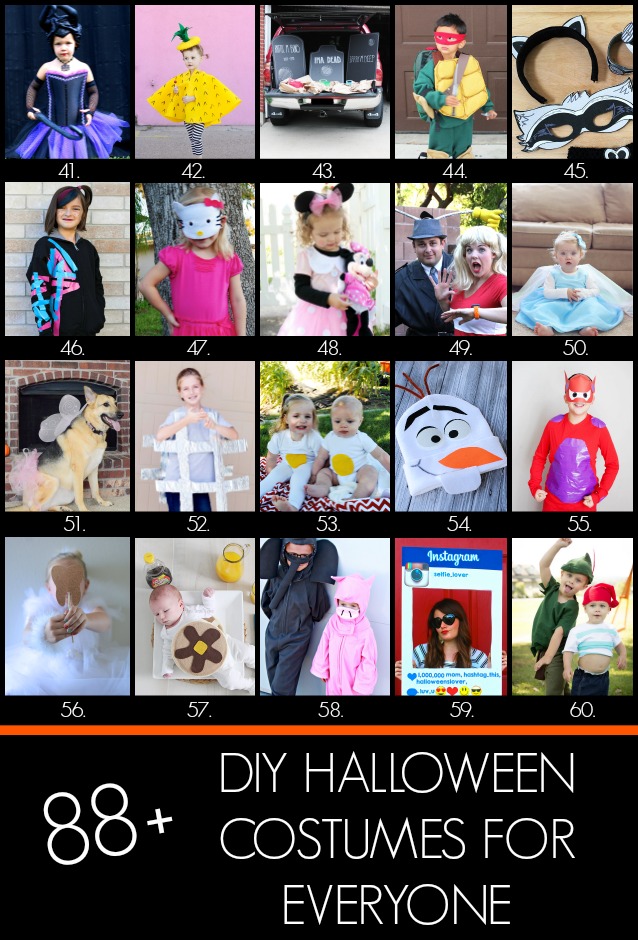 41. DIY No Sew Maleficent Costume
42. No Sew Pineapple Halloween Costume
43. Graveyard Bean Bag Toss: Trunk or Treat Car Costume
44. DIY Teenage Mutant Ninja Turtles Costumes
45. DIY Raccoon Costume with Printable Mask
46. Easy WildStyle Lego Movie Costume
47. Simple Hello Kitty Costume
48. No Sew Minnie Mouse Costume
49. DIY Inspector Gadget and Penny Costumes
50. DIY Frozen Elsa Dress Baby Edition
51. Fairy Princess Dog Costume
52. DIY Hashtag Halloween Costume
53. Toddler or Baby Egg Costume
54. Easy No Sew Olaf Costume
55. DIY Baymax Costume
56. DIY Tooth Fairy Costume
57. Baby Short Stack Pancake Costume
58. Elephant and Piggie Halloween Costumes
59. Instagram Halloween Costume
60. Peter Pan & Mr. Smee Halloween Costume
41. DIY No Sew Maleficent Costume
42. No Sew Pineapple Halloween Costume
43. Graveyard Bean Bag Toss: Trunk or Treat Car Costume
44. DIY Teenage Mutant Ninja Turtles Costumes
45. DIY Raccoon Costume with Printable Mask
46. Easy WildStyle Lego Movie Costume
47. Simple Hello Kitty Costume
48. No Sew Minnie Mouse Costume
49. DIY Inspector Gadget and Penny Costumes
50. DIY Frozen Elsa Dress Baby Edition
51. Fairy Princess Dog Costume
52. DIY Hashtag Halloween Costume
53. Toddler or Baby Egg Costume
54. Easy No Sew Olaf Costume
55. DIY Baymax Costume
56. DIY Tooth Fairy Costume
57. Baby Short Stack Pancake Costume
58. Elephant and Piggie Halloween Costumes
59. Instagram Halloween Costume
60. Peter Pan & Mr. Smee Halloween Costume
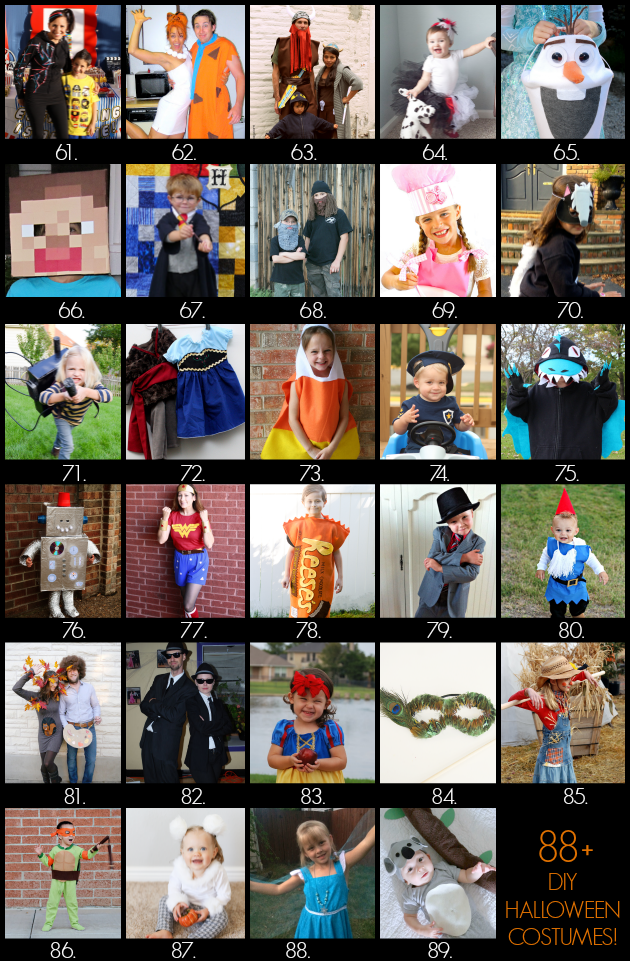 61. Wildstyle Costume from the Lego Movie
62. Fred and Wilma Couples Costume
63. Viking Family Costumes
64. DIY Cruella de Vil Costume for a child
65. Disney Frozen Olaf Halloween Treat Bucket
66. How to Make a Minecraft Steve Head
67. DIY Harry Potter Costume
68. DIY Duck Dynasty Costumes
69. No Sew Cupcake Baker Halloween Costume
70. DIY Skunk Mask
71. Ghostbusters Proton Pack DIY
72. Frozen Anna Costume Tutorial
73. Candy Corn Costume
74. Paw Patrol Halloween Costume
75. No Sew Toothless Dragon Costume
76. DIY Robot Costume
77. Wonder Woman Costume
78. Reese's Peanut Butter Cup Costume
79. Thrifted Gentleman Spy DIY Halloween Costume
80. DIY Boy Garden Gnome Costume
81. Group Costume: Bob Ross, Happy Tree, & Squirrel
82. DIY Blues Brothers Costumes
83. Snow White Costume
84. Peacock Princess Costume
85. Scarecrow Costume
86. Easy Teenage Mutant Ninja Turtle Costume
87. Handmade Teddy Bear Costume
88. Princess Elsa and the Spy Kid
89. DIY Baby Koala costume
61. Wildstyle Costume from the Lego Movie
62. Fred and Wilma Couples Costume
63. Viking Family Costumes
64. DIY Cruella de Vil Costume for a child
65. Disney Frozen Olaf Halloween Treat Bucket
66. How to Make a Minecraft Steve Head
67. DIY Harry Potter Costume
68. DIY Duck Dynasty Costumes
69. No Sew Cupcake Baker Halloween Costume
70. DIY Skunk Mask
71. Ghostbusters Proton Pack DIY
72. Frozen Anna Costume Tutorial
73. Candy Corn Costume
74. Paw Patrol Halloween Costume
75. No Sew Toothless Dragon Costume
76. DIY Robot Costume
77. Wonder Woman Costume
78. Reese's Peanut Butter Cup Costume
79. Thrifted Gentleman Spy DIY Halloween Costume
80. DIY Boy Garden Gnome Costume
81. Group Costume: Bob Ross, Happy Tree, & Squirrel
82. DIY Blues Brothers Costumes
83. Snow White Costume
84. Peacock Princess Costume
85. Scarecrow Costume
86. Easy Teenage Mutant Ninja Turtle Costume
87. Handmade Teddy Bear Costume
88. Princess Elsa and the Spy Kid
89. DIY Baby Koala costumeWhat handmade costume ideas did you love the most?! Be sure to click over to get the costume instructions, pin the costume, and let them know you love it! Also, follow the Handmade Halloween Costume board on Pinterest! Follow Jamie Dorobek {C.R.A.F.T.}'s board “Handmade Halloween Costumes” on Pinterest.
If you are stopping by from the C.R.A.F.T Costume Blog Hop, welcome! Stay around and check out some of my other Halloween Costume Ideas.


Have I mentioned I rather like themed Halloween? Haha. Well I do. Thanks for stopping by and checking out our first Halloween O' Book Characters. Keep checking back to find out what Oldest and Middle are going to be.
Follow along with Just Another Day in Paradise


